How to Start Bible Journaling When You Have No Idea What You’re Doing
In this post:
✦ How Bible journalling completely changed the way I spend time in God’s Word
✦ The simple three-step process I use to understand a new book of the Bible: the big picture, an overview and an infographic
✦ Why finding a Bible and translation that worked for me made such a difference to how I understood Scripture
✦ How I use creativity to slow down, process and remember what I’m reading
✦ The simple things I add to my Bible when I want more space to write, create and reflect
✦ Why Bible journalling has become less about making my Bible look pretty and more about building a deeper relationship with God
As a creative, finding Bible journalling completely changed the way I spend time with God. It changed how I read Scripture, but more than that, it changed how much I actually remembered because I was engaging with what I was reading rather than simply moving through a chapter and forgetting half of it afterwards. For me, adding creativity into my Bible study gave me another way to slow down and really take in what I was learning.
For years, I approached Bible study in a much more traditional way, and there is absolutely nothing wrong with that if it works for you. But I found I would mostly sit down and properly study my Bible when I had the mental capacity to concentrate, which meant on the days I was tired or overwhelmed, it was often the first thing I struggled to do. Creativity, however, has always been something I naturally turn to when I need to switch off, so Bible journalling started to become this beautiful meeting point between something I already loved and spending time in God’s Word.
When I first started, I genuinely had no idea what I was doing. I wasn’t following a set method or trying to make every page look a certain way, I was simply figuring out what helped me understand Scripture better and what made me want to keep coming back to it. Over time, I naturally developed a process, and if you’re sitting there wondering where on earth to begin, this is where you can start.
1. Find a Bible You Actually Want to Spend Time In
For me, finding the right Bible made a much bigger difference than I expected. I wanted something that felt like mine, something I could colour in, write all over, add pages to and use without feeling like I needed to keep it perfectly untouched. I wanted to be able to open it and feel excited about spending time in it.
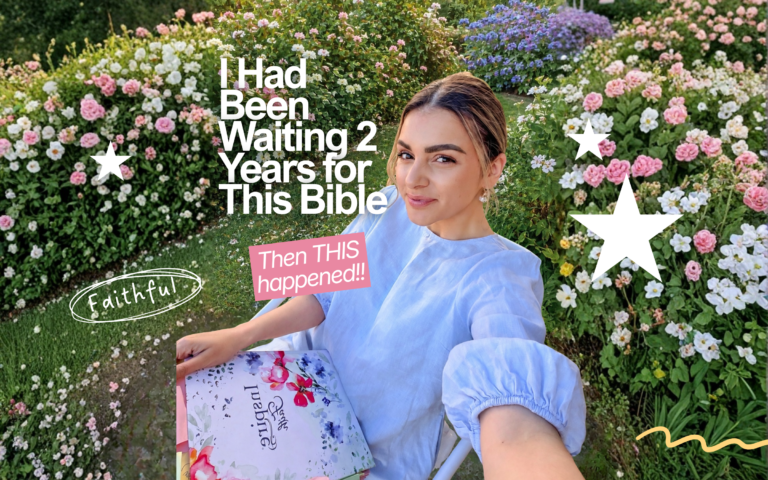
The Bible I use now actually came into my life in a way that I genuinely believe God had a hand in, and I wrote the whole story because it became such a special part of this journey for me. It wasn’t simply me choosing the prettiest Bible on the shelf; there were a few little details along the way that made me feel like God knew exactly what would work for me. [You can read the story of how God hand-picked my Bible here.]
You absolutely do not need to go out and buy a new Bible to start journalling, though. If you already own one you love, use it, and if you’re looking for one, think less about what everyone else is using and more about what will actually make you want to open it. For me, that happened to be a Bible with illustrations and creative space, but yours might look completely different.
2. Choose a Translation You Understand
Finding the NLT was one of the biggest things that changed Bible reading for me. I had spent years reading Scripture, but there were plenty of passages where I understood the individual words without really grasping the bigger picture of what was happening. When I started reading the New Living Translation, I found the stories easier to follow and I began connecting things in Scripture that I had completely missed before.
The NLT is written in clear, contemporary English and focuses on communicating the meaning of the original text in a way that is natural to read. I still like comparing different translations when I’m studying something more deeply, but the NLT is the translation I naturally reach for when I’m reading because it helps me understand what is actually happening. Once I understood more of what I was reading, Bible journalling also became much easier because I actually had something I wanted to write about.
If you’re constantly reading your Bible and thinking, I have absolutely no idea what that meant, try another translation. You are not getting extra points for reading a translation that you find difficult to understand, and sometimes changing the language is what helps everything finally start to click. The goal is to understand God’s Word, not struggle through it simply because you think that’s how Bible reading is supposed to feel.
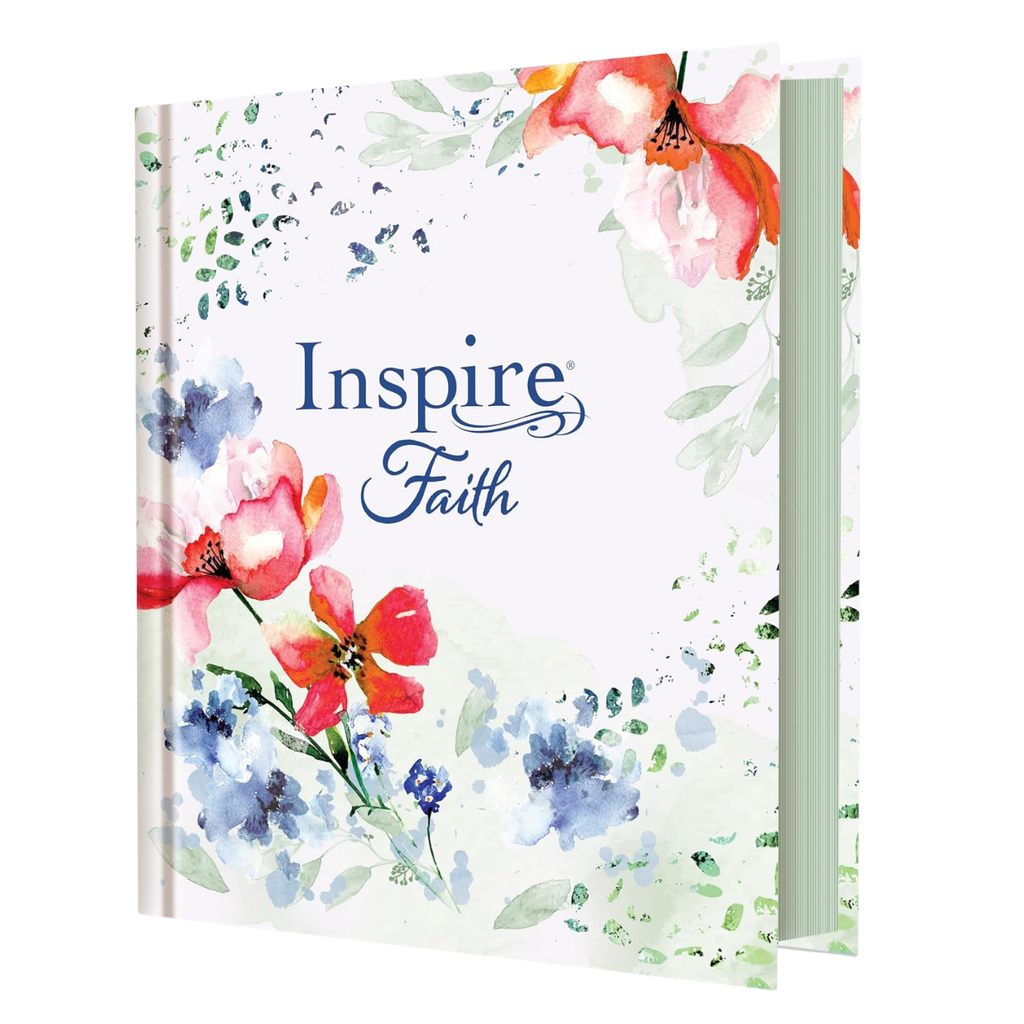
MY JOURNALING BIBLE
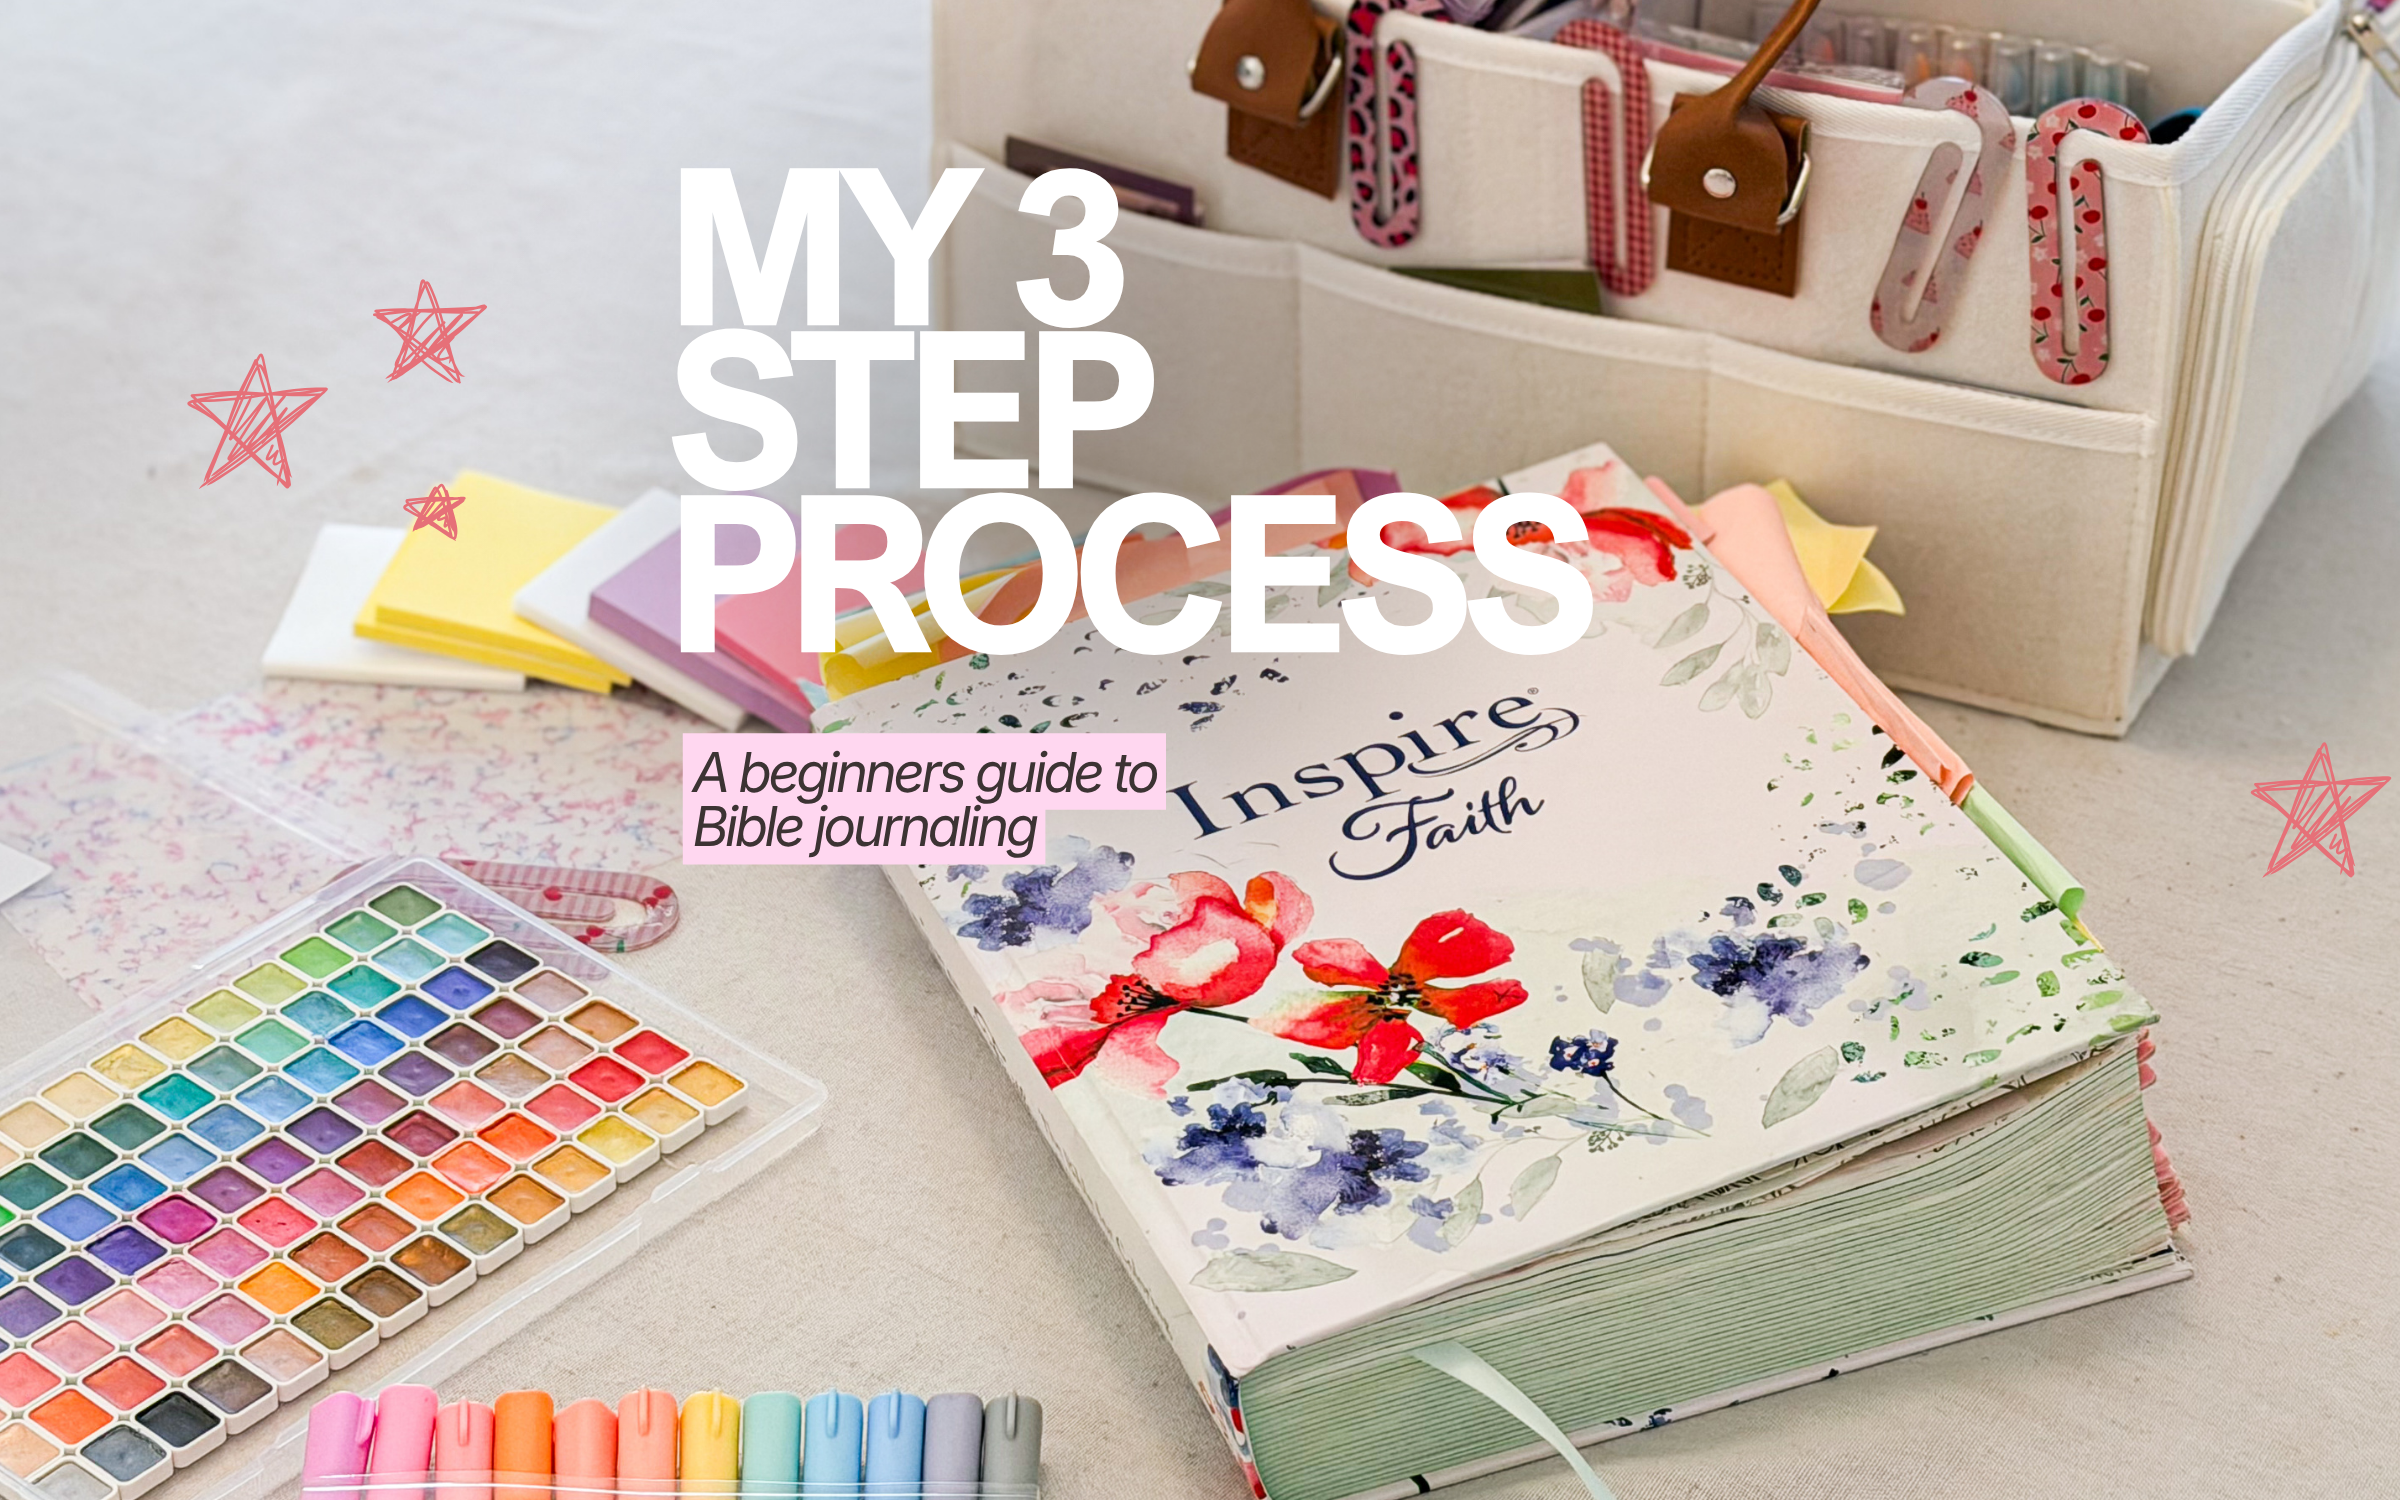
This is the Bible I use and absolutely love for Bible journaling. I wanted a Bible that gave me plenty of space to underline, highlight, write notes and get creative as I spend time in God’s Word.
3. Start With the Big Picture
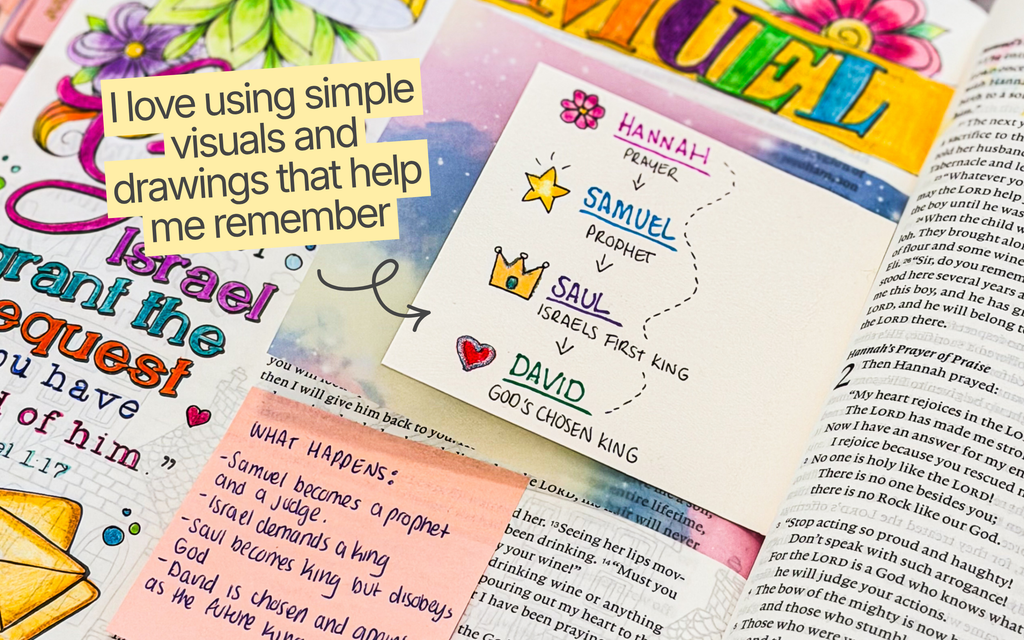
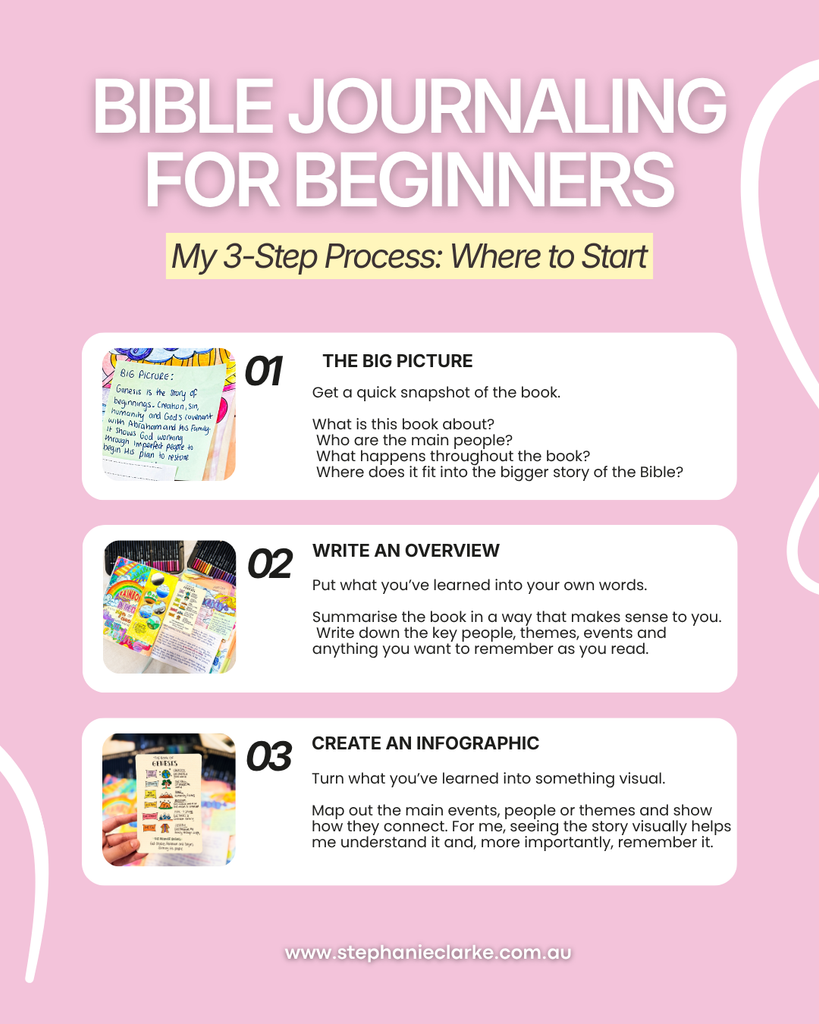
This is where my actual Bible journalling process began. Before I started highlighting verses, colouring pages or writing notes throughout a book, I wanted to know what the book was actually about, so I always began with the big picture. I need to understand where I was in the Bible before I start pulling individual pieces out of it.
When I began a new book, I looked at things like who wrote it, who it was written to, what was happening at the time and why the book matters. I also want to know where it sits within the bigger biblical story, because knowing what happened before and what is happening around it can change the way you understand so many passages. I don’t go ridiculously deep at this stage; I’m really just trying to give myself enough context that when I start reading, I know what I’m walking into.
This step has probably helped me more than almost anything else because I used to read individual chapters without really understanding how everything connected. Now, before I get caught up in one verse or one story, I can step back and see where it fits into the bigger picture. It makes the Bible feel less like a collection of separate books and more like the one incredible story it actually is.
Bible Journaling for beginners FREE guide
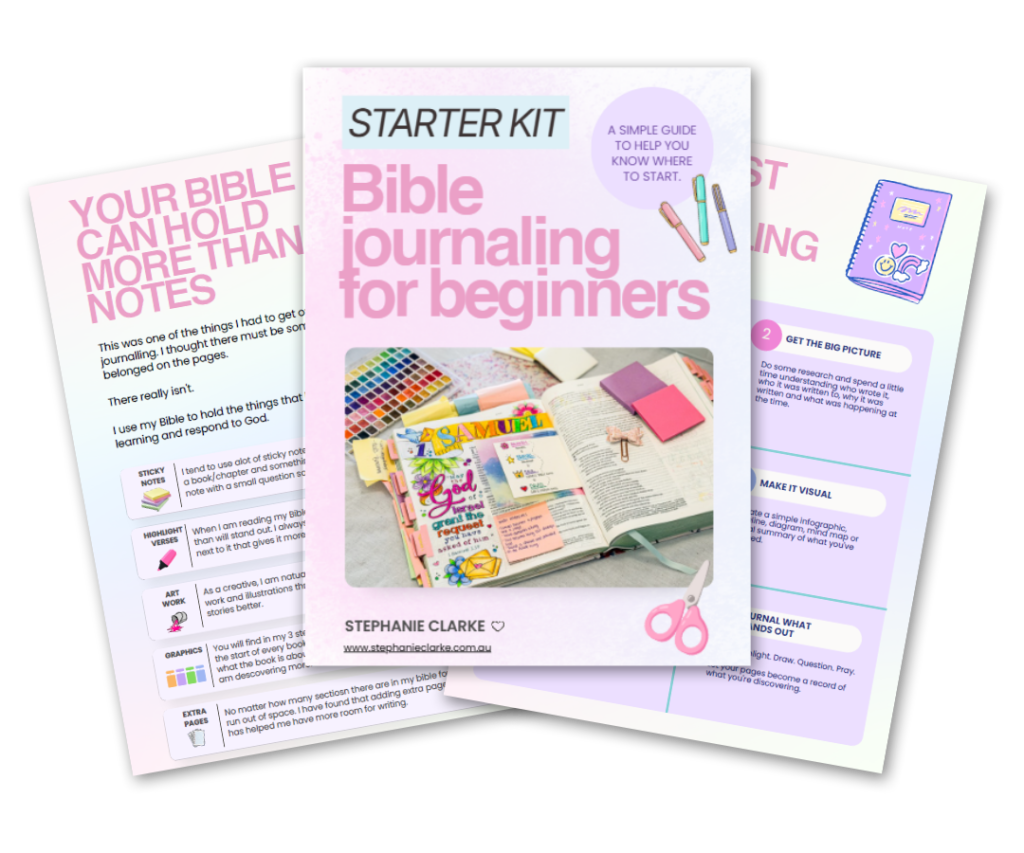
I’ve created this FREE Bible Journaling Guide for Beginners to show you how to get started with Bible journaling in three simple steps.
Inside, I’ll walk you through what you need, how to approach your Bible and simple ways to make Bible journaling your own.
4. Write an Overview in the Front of the Book
Once I understand the big picture, I write a simple overview at the beginning of the book in my Bible. This isn’t meant to be an essay or something overly theological; it’s basically the version I would want someone to tell me if I asked, “Okay, before I read this, what do I actually need to know?” I write it in language that makes sense to me so I can come back months later and immediately remember everything the book is about.
I usually include what the book is about, the main people involved, the key themes and anything else I think will help me understand it as I read. Sometimes there is a cultural or historical detail that completely changes the context of the story, so if there is something important like that, I’ll add it as well. I want that first page to work almost like a little cheat sheet that brings me back into the story whenever I need it.
I usually write these overviews on notebook paper or another piece of paper and then attach them into my Bible. Sometimes I use washi tape, sometimes I glue the edge into the seam, and other times I’ll use a Post-it Note if I want something small and easy to see. This is one of the reasons I love Bible journalling so much because I don’t feel limited by whatever space happens to already be printed on the page.
5. Create an Infographic
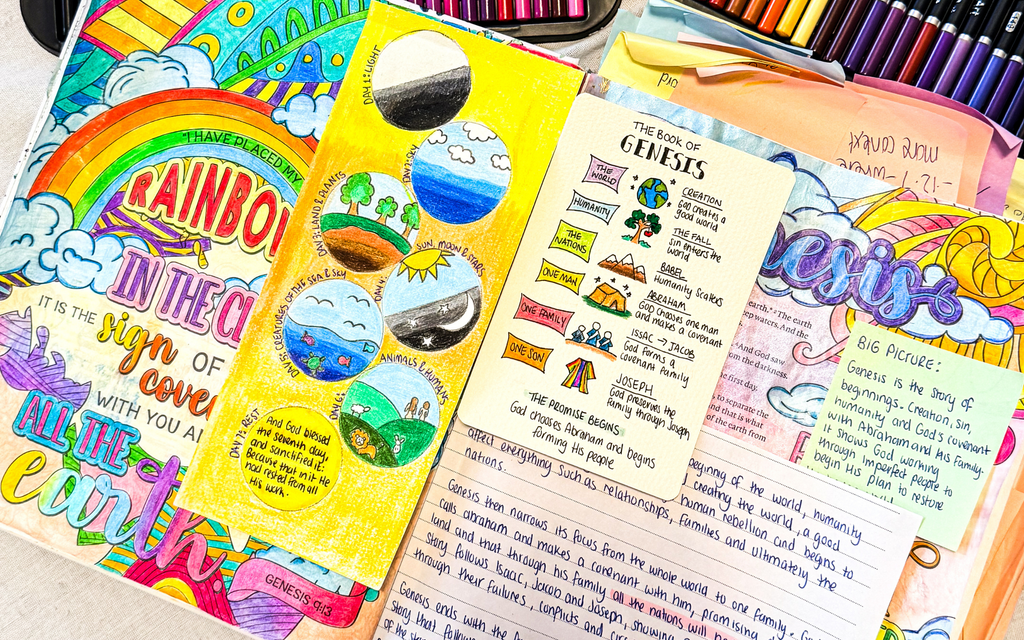
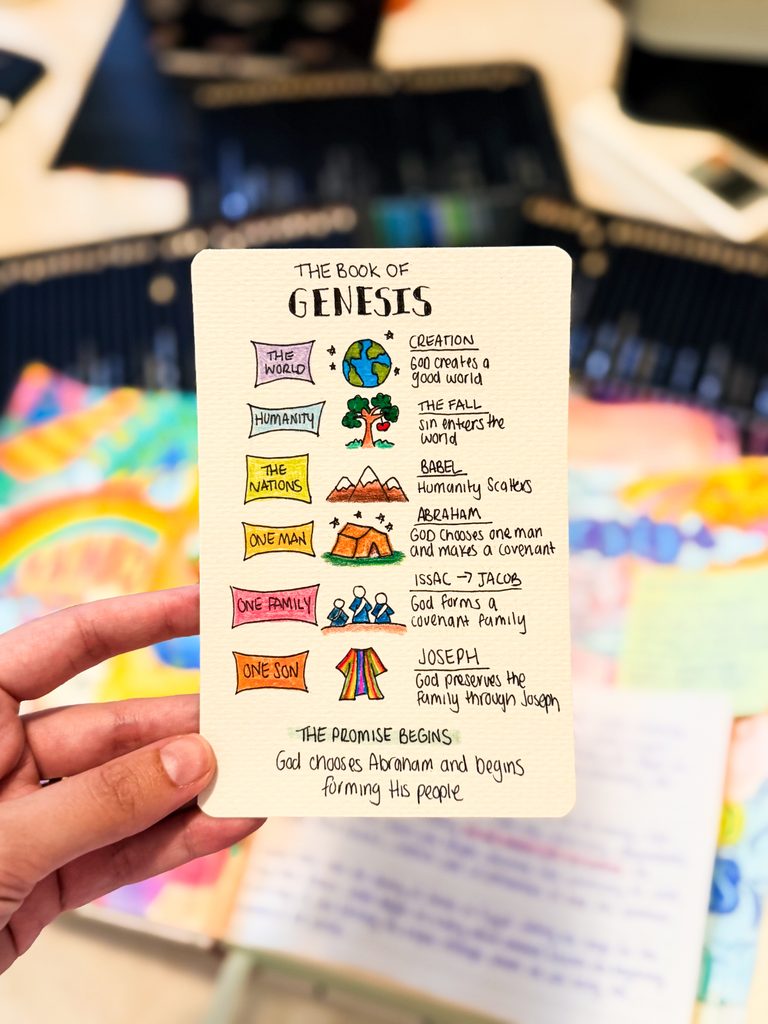
After I’ve done the big picture and written my overview, I create an infographic for the book. This is probably my favourite part because I’m such a visual person, and seeing the story laid out visually helps me remember it in a completely different way. Sometimes I could read something three times and still forget it, but if I draw it, colour it or connect it to an image, suddenly it sticks.
The infographic is usually a really simple visual summary of the main events, people or themes in the book. For Genesis, for example, you could visually break down creation, the fall, the flood, Babel, Abraham, Isaac, Jacob and Joseph, while another book might need something completely different. I don’t try to make every infographic look the same because I want the design to actually reflect the book I’m reading.
This is also where Bible journalling becomes really personal for me. I can take everything I’ve just learned in the big picture and overview stage and turn it into something that makes sense to my brain. By the time I have finished those three steps, I already feel like I understand the book before I’ve even started working through the individual pages.
So my first stage is always: understand the big picture, write the overview, then create the infographic.
6. Read the Book Before You Start Colouring Everything
Once I’ve created the introduction to the book, I start reading. I personally like to read through the book before I go back and colour all of the illustrated pages because I want to understand what I’m colouring and how it connects with what I’ve just read. I don’t want the creative part to become completely disconnected from the Scripture itself.
As I read, I will still underline things, highlight verses or jot down something that stands out to me, but I’m not putting pressure on myself to create something beautiful on every page. Sometimes the most useful thing I can write is simply a question mark beside something I don’t understand yet, or a quick note about what I think God is showing me. Then once I have a better understanding of the book, I can go back through and spend more time on the creative side.
I really enjoy doing it this way because it gives me another reason to revisit what I’ve just read. I’m reading it once for understanding, then I’m going back over different parts as I’m colouring, creating or adding notes, which naturally means I’m spending more time sitting with the same Scripture. Without really trying to memorise everything, I’m finding that so much more of it stays with me.
7. Then Make the Pages Your Own
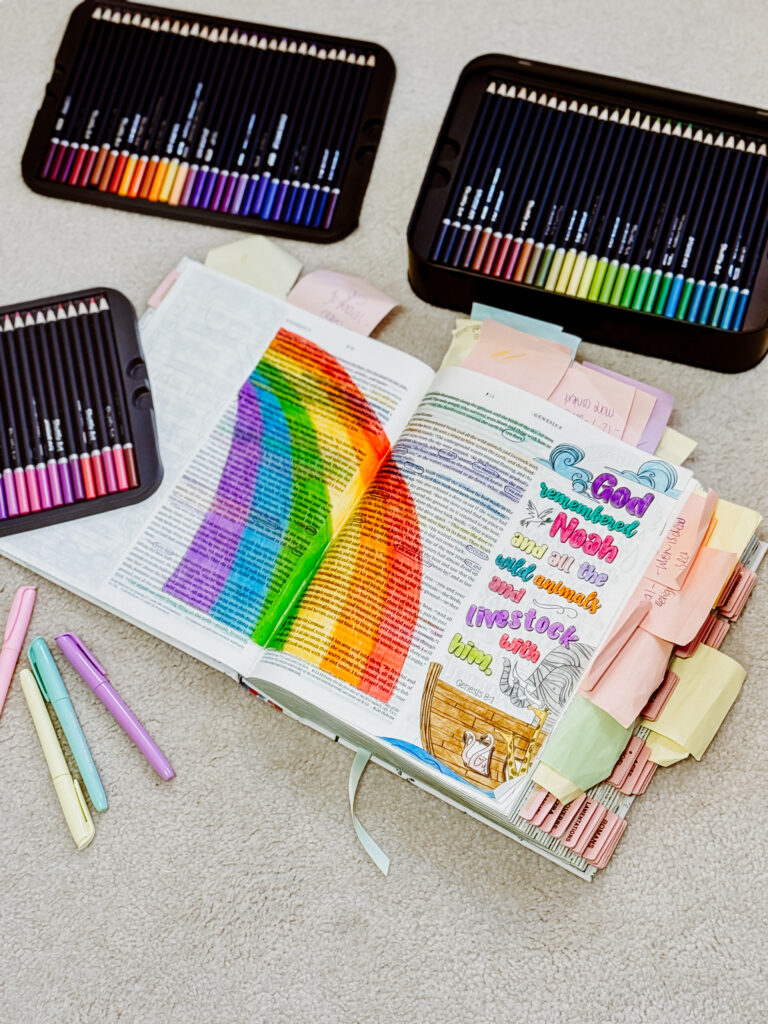
After that, there really aren’t many rules in the way I Bible journal. I colour the illustrated pages, add notes, stick in extra paper, create little fold-outs and use Post-it Notes when I need extra space. Sometimes I print something I’ve created and add it in, while other times I simply write a sentence in the margin because that is all the page needs.
And if you don’t have a Bible designed specifically for journalling, you can still do all of this. I use notebook paper, craft paper, washi tape and small amounts of glue to add things into my Bible all the time, so you can create the space yourself rather than feeling like you need to buy something new. There is something I actually love about the pages becoming layered and filled with things I’ve added over time.
The more I’ve done this, the less concerned I’ve become with whether my Bible looks “right”. Some pages are bright and colourful, some are full of notes and some barely have anything on them at all, and that is exactly how I want it. I want to look through my Bible one day and see where I’ve been with God, what I’ve learned and what stood out to me in different seasons.
If You Have No Idea Where to Start, Start Here
Bible Journaling for beginners FREE guide
I’ve created this FREE Bible Journaling Guide for Beginners to show you how to get started with Bible journaling in three simple steps.
Inside, I’ll walk you through what you need, how to approach your Bible and simple ways to make Bible journaling your own.
What You Can Do Today to Start Bible Journalling
✦ Open the Bible you already have.
Don’t wait until you have the perfect Bible or all the right supplies. Start with what is already in your hands and spend some time reading.
✦ Choose one book to begin with.
Rather than trying to journal your way through the whole Bible, choose one book and get to know it. Start with the big picture, then write yourself a simple overview of what the book is about.
✦ Create something that helps you remember.
If you’re a visual or creative person like me, try turning what you’ve learned into an infographic, a diagram or something you can look back at. I’ve found that putting Scripture into something visual helps it stay with me long after I’ve finished reading.
✦ Write down what stands out to you.
You don’t need to know exactly what you’re “supposed” to write. Add a thought, a question, a prayer or a verse that you don’t want to forget.
✦ Let yourself enjoy it.
Colour the pages, add washi tape, create inserts, use your favourite pens or simply underline something that catches your attention. Bible journalling has become one of the ways I genuinely enjoy spending time in God’s Word, and I think there is something really special about finding a way of connecting with Scripture that feels like you.
You don’t need to know how to Bible journal before you begin. Open your Bible, start with one book and let the rest come as you go.